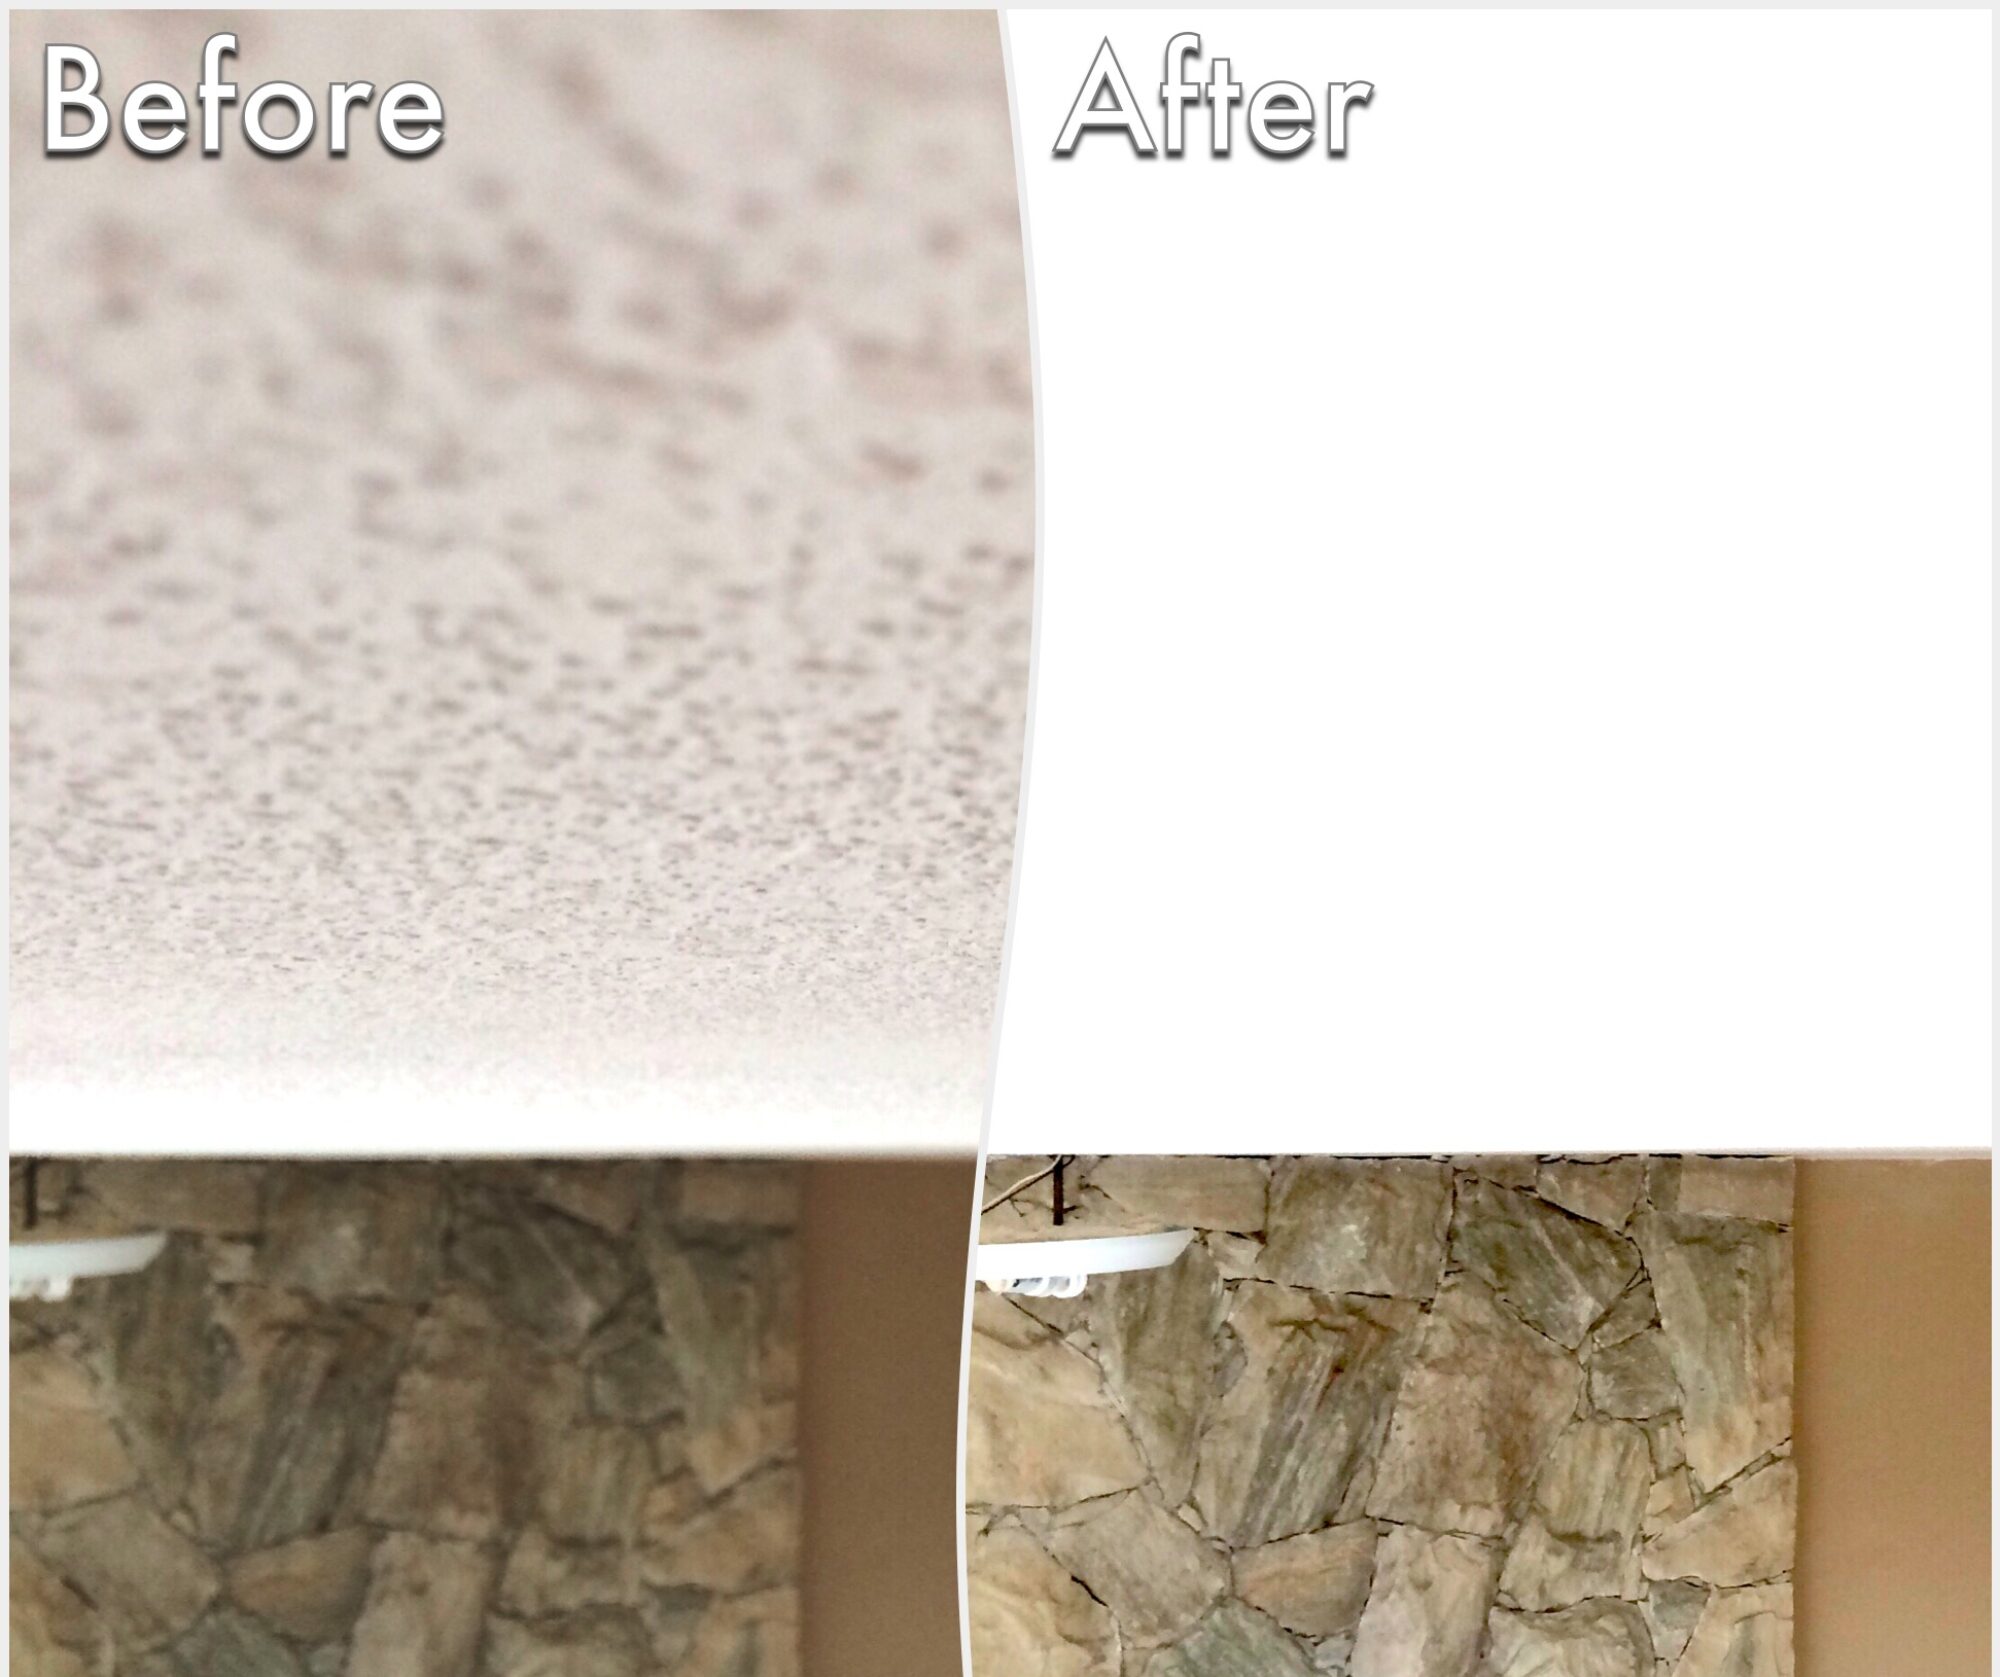

This particular project involved scraping and physically removing the stipple ceiling texture, as requested by the homeowner. As you will see in the pictures, we first scraped the existing ceiling texture from all the ceilings in this home. This included removing the stipple texture from a 14′ vaulted ceiling, as well as 2 skylights.
At RemoveCeilingTexture.com , we go out of our way to cover all thefurniture, fixtures, cabinets, countertops etc… in your home, that may be exposed to dust. This way, you can rest assured that your home will be clean during and after the removal of ceiling texture.

As you can see in this picture, once our process is complete, your ceilings will be 100% smooth, and ready to be painted. Â Total time spent on this project was 2 consecutive working days plus a third morning (2 hours) to clean up.
This was an apartment unit that was build in the 1990’s in south Vancouver, BC. Please take the time to go through all the photos from this popcorn ceiling removal project an if you are tired of looking at that unsightly textured ceiling in your home, give us a call or contact us using our online contact page.


")

