Are you making these DIY mistakes when it comes to your ceilings?
I have to confess to a mistake I recently made. I walked out of a public washroom with the bottom of my skirt tucked up into my underwear. I’ve heard stories about this happening to other people, but I thought it was an urban myth. How could someone not notice that their assets were on display for everyone to see? My saving grace is that I did notice it quick enough to avoid a ticket for public indecency. We all make mistakes. At least that mistake wasn’t costly. But when it comes to home renovations, DIY mistakes can be expensive. Ceiling mistakes can mean paying twice to get the results that you want. Here are some common pitfalls that homeowners often fall into, when it comes to textured ceilings.
1) Living with popcorn ceilings
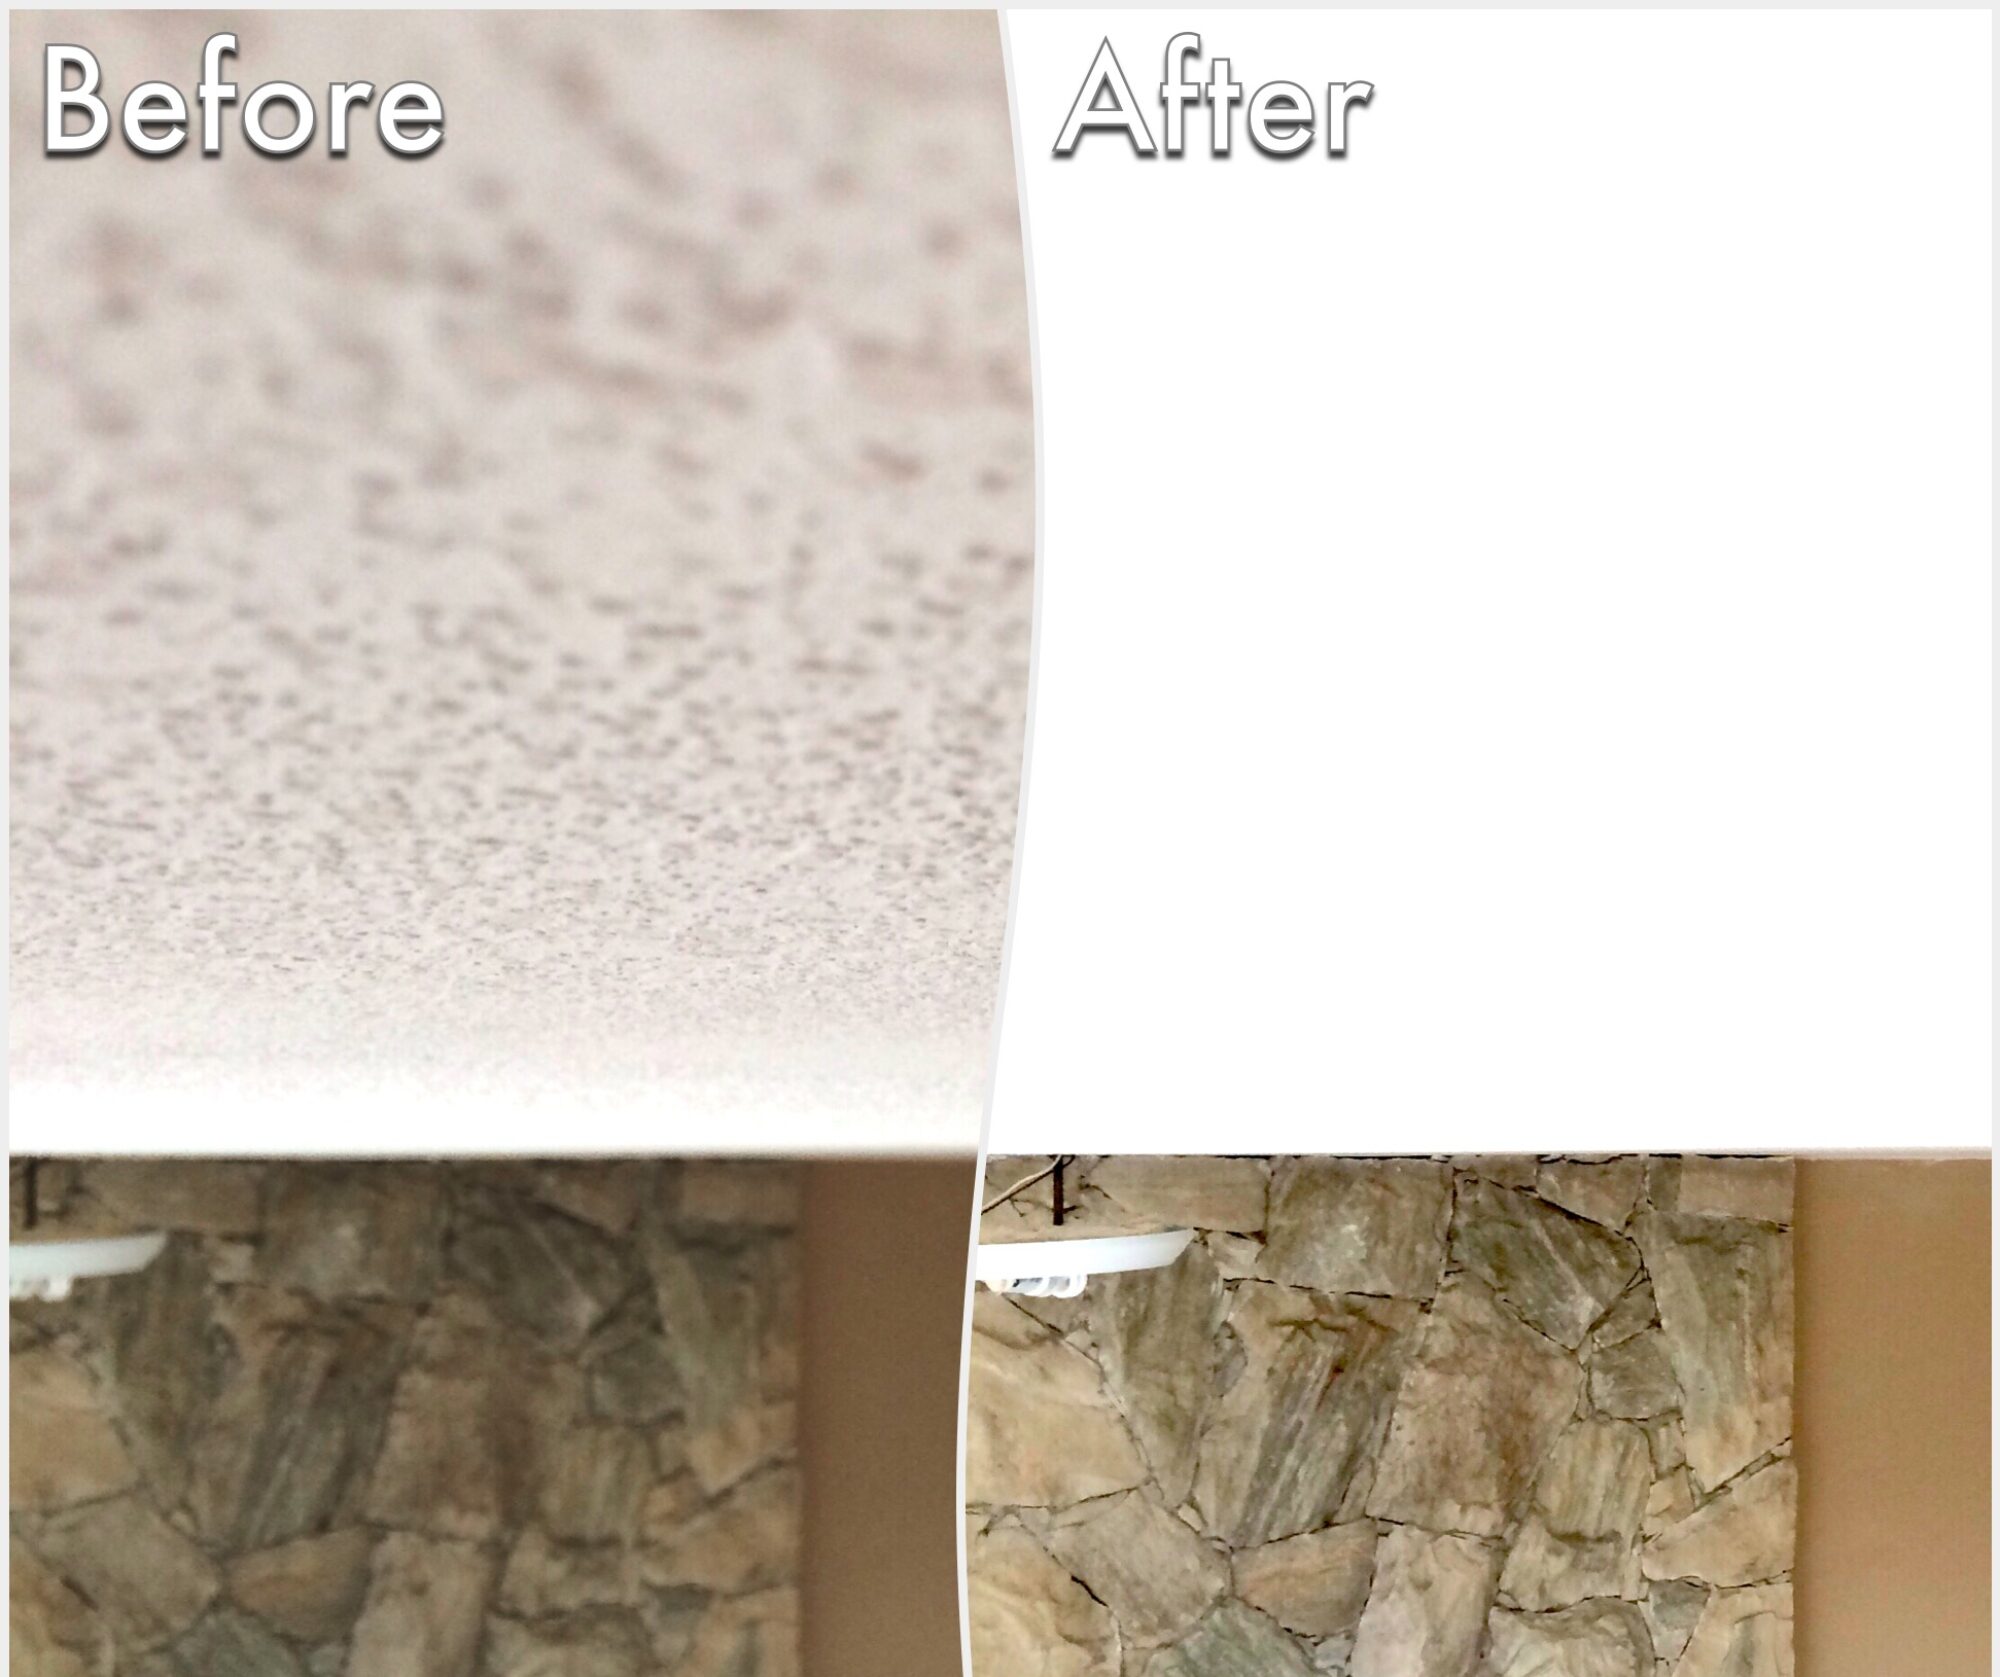
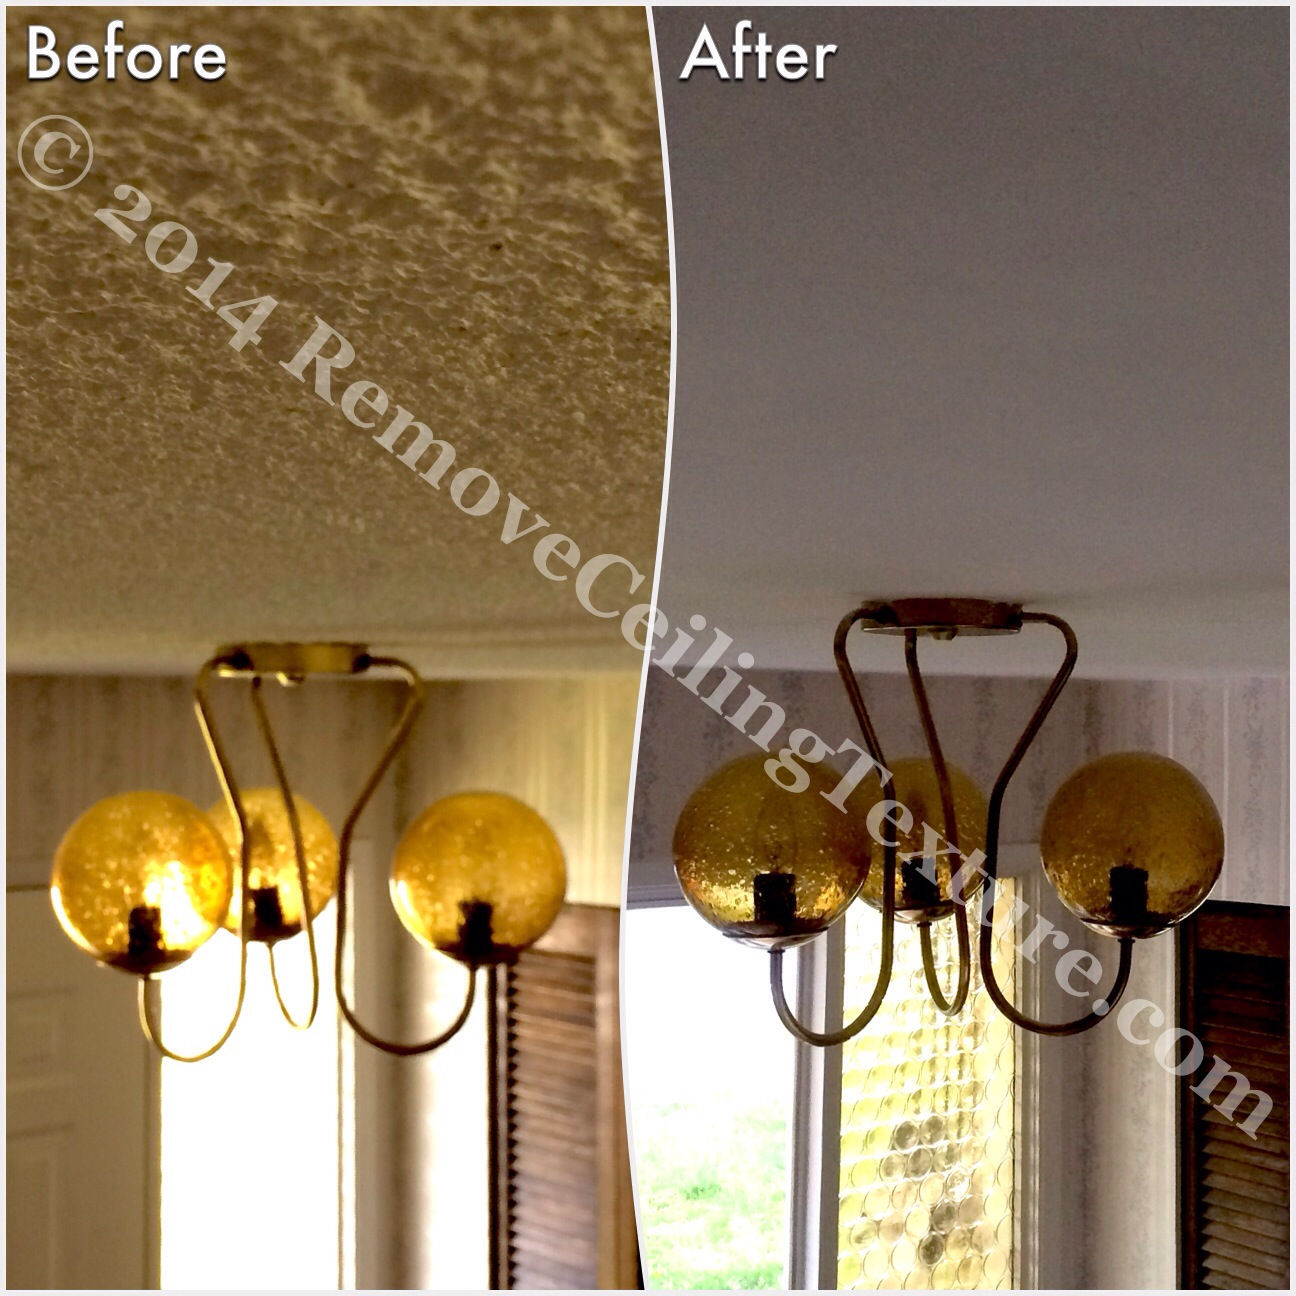
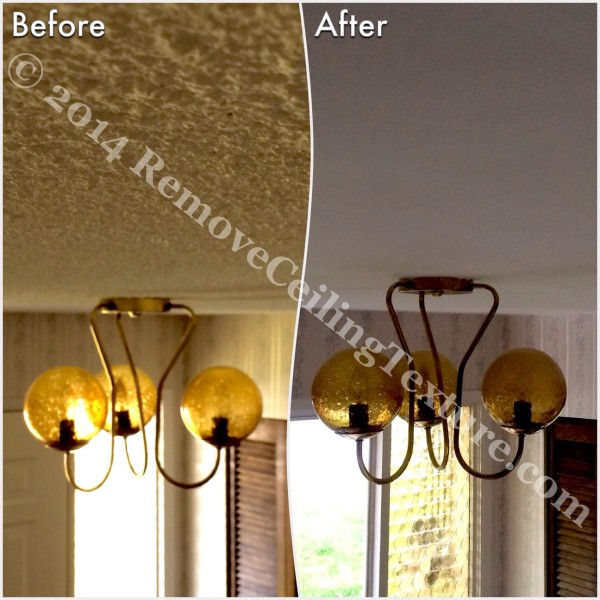
It’s entirely likely that you currently live in a home with popcorn ceilings, or you have at some point in your life. They were especially popular in the 1970s – 1990s, but are still being used in new buildings and homes today. That’s because it’s cheaper and easier to spray texture on ceilings, than it is to finish them properly to a smooth surface. What you may not realize, is that you don’t have to live with them. They’re dirty, they collect dust and allergens and they look pretty hideous. A ceiling professional can resurface the texture and give you smooth ceilings that your neighbours will envy.
2) Scraping the popcorn ceiling texture yourself
The DIY movement has everyone thinking they can do everything themselves. For instance, as these pins from Pinterest show, there’s a reason bakeries exist. Unless you’re Martha Stewart, buy a cake from a bakery for a special occasion. The same is true for removing popcorn ceilings. It’s not something that you should do yourself. If you don’t have the right tools, and most importantly the experience for the job, it’s a messy and time consuming job. What takes a professional just a few days, could take you weeks. And once the texture is off, your ceilings are going to look pretty rough unless they’re resurfaced. We’ve had several calls from homeowners looking for help after they tried the DIY approach.
The videos you watch on YouTube which explain the DIY process for getting smooth ceilings, are usually shot with some contractor’s cellphone camera, from 8 feet away, in a dimly lit home! They don’t really show how rough the ceiling looks when the DIY job is finished. Our process has been perfected over the years, and our finished product revolves around applying fresh compound to EVERY SQUARE INCH OF THE CEILING… AT LEAST TWICE! For a Do-It-Yourselfer to do this, it will take weeks.
3) Taking ceiling texture samples for asbestos testing to an asbestos abatement company
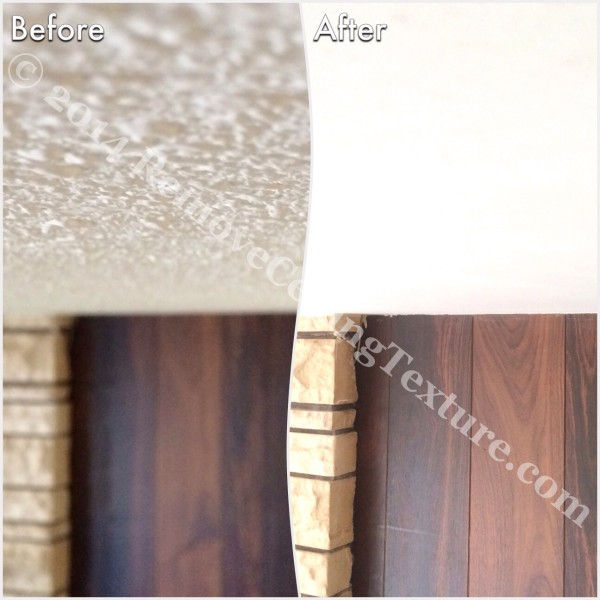
If you plan on removing your ceiling texture and your home was built prior to 1980, or you don’t know when the ceiling texture was applied, it needs to be tested for asbestos before removing. One mistake people unknowingly make, is to take a sample of ceiling texture to a company that specialized in asbestos abatement. Most of these companies are legitimate, but (and this is a big but), since they have a vested interest in finding asbestos so they can sell you on their abatement services, it is best to take it to a lab that is not involved whatsoever, in the abatement industry. A good lab in the GreaterVancouver area is HBM Environmental. At RemoveCeilingTexture.com, we offer a service to come to your home, professionally obtain a sample and deliver it to the lab. Once the results come back, we notify you and provide you with the report from the lab.
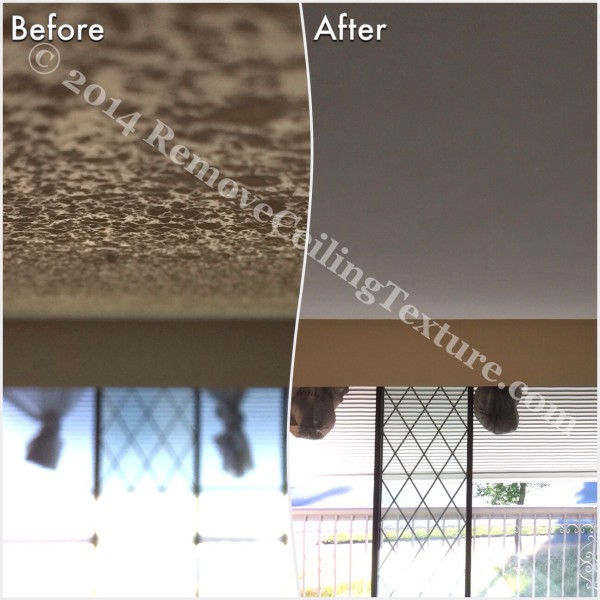
4) Hiring a contractor inexperienced with ceilings to remove the popcorn ceilings.
While you don’t want to scrape the ceilings yourself, you also don’t want a contractor who is not experienced with ceilings specifically. Ceilings can be tricky to work with. We’ve been contacted by owners who needed us to finish the ceilings after someone inexperienced realized he was not quite skilled enough to complete the job. We’ve also been contacted by contractors themselves who didn’t want to get involved with removing ceiling texture because they weren’t sure they could deliver a quality finish. We work with ceilings every day. We know how to deal with waves in concrete ceilings, cracks around the edges of walls, or cracks running through the middle of the room. We’ve worked on vaulted ceilings and skylights and we’ve fixed water-damaged ceilings.
5) Painting the ceilings yourself
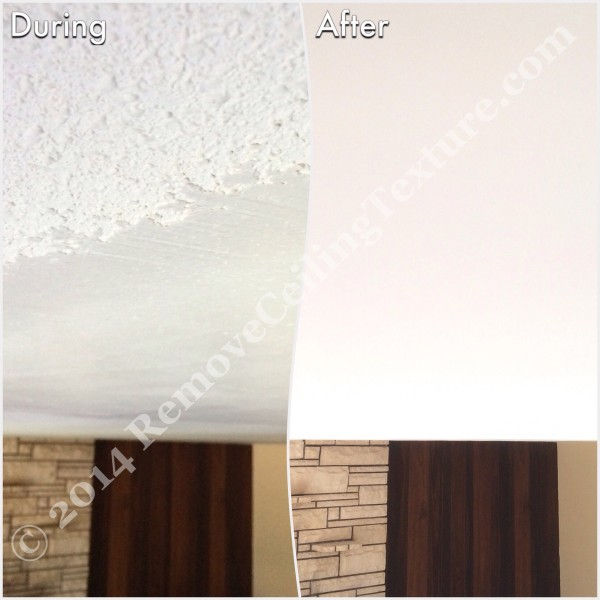
Once your ceilings are smooth, they’ll need to be primed and painted. Just as with ceiling texture removal specialists, professional painters have the skills and tools necessary to create a quality finish. This is especially important when there is a lot of natural light in the space. Any imperfection in the paint will show, so it must be done meticulously and skillfully. In a typical home, walls and floors are usually camouflaged with any number of decorations, including picture frames, cabinets, furniture and floor lamps. Therefore, imperfections will not be glaringly visible. But such is not the case with ceilings. Ceilings receive minimal decoration and therefore, you are more likely to see visible imperfections. This is why it’s so important to have a professional smooth the ceilings, and a professional painter to paint the smooth ceilings.
Finally, painting ceilings is pretty hard on the neck, shoulders and back for people who are not accustomed to it. By having a painter paint your ceilings, you might just avoid a trip to your chiropractor.
Hopefully these tips will prevent you from making committing the typical mistakes that homeowners, and especialy Do-It-Yourselfers make when it comes to dealing with their ceilings. To learn more about RemoveCeilingTexture.com’s texture removal process, or to get a FREE quote, give us a call at 604-420-7578 or contact us by email.
